When you click on links to various merchants on this site and make a purchase, this can result in this site earning a commission. Affiliate programs and affiliations include, but are not limited to, the eBay Partner Network.
I’ve been back at the grind. The engine seemed fine oil pressure and the car was strong after the loss of pressure issue, but I couldn’t pass up the deal another forum member posted for a Golen built short block, and ended up pulling the engine. Another driving force was that I had still not identified the oil leak.
The new shortblock was a quick drive from Vegas to LA, and went pretty easy. The fun part was on the way out of LA, the crate lid slid off the crate smacking my buddy in the back of the head, then riding over the top of my head, ultimately popping the rear view mirror off of his brand new trailhawk. Luckily YouTube saved us on how the Jeep mirrors attached (tough to see with all of the wiring and camera harness attached).
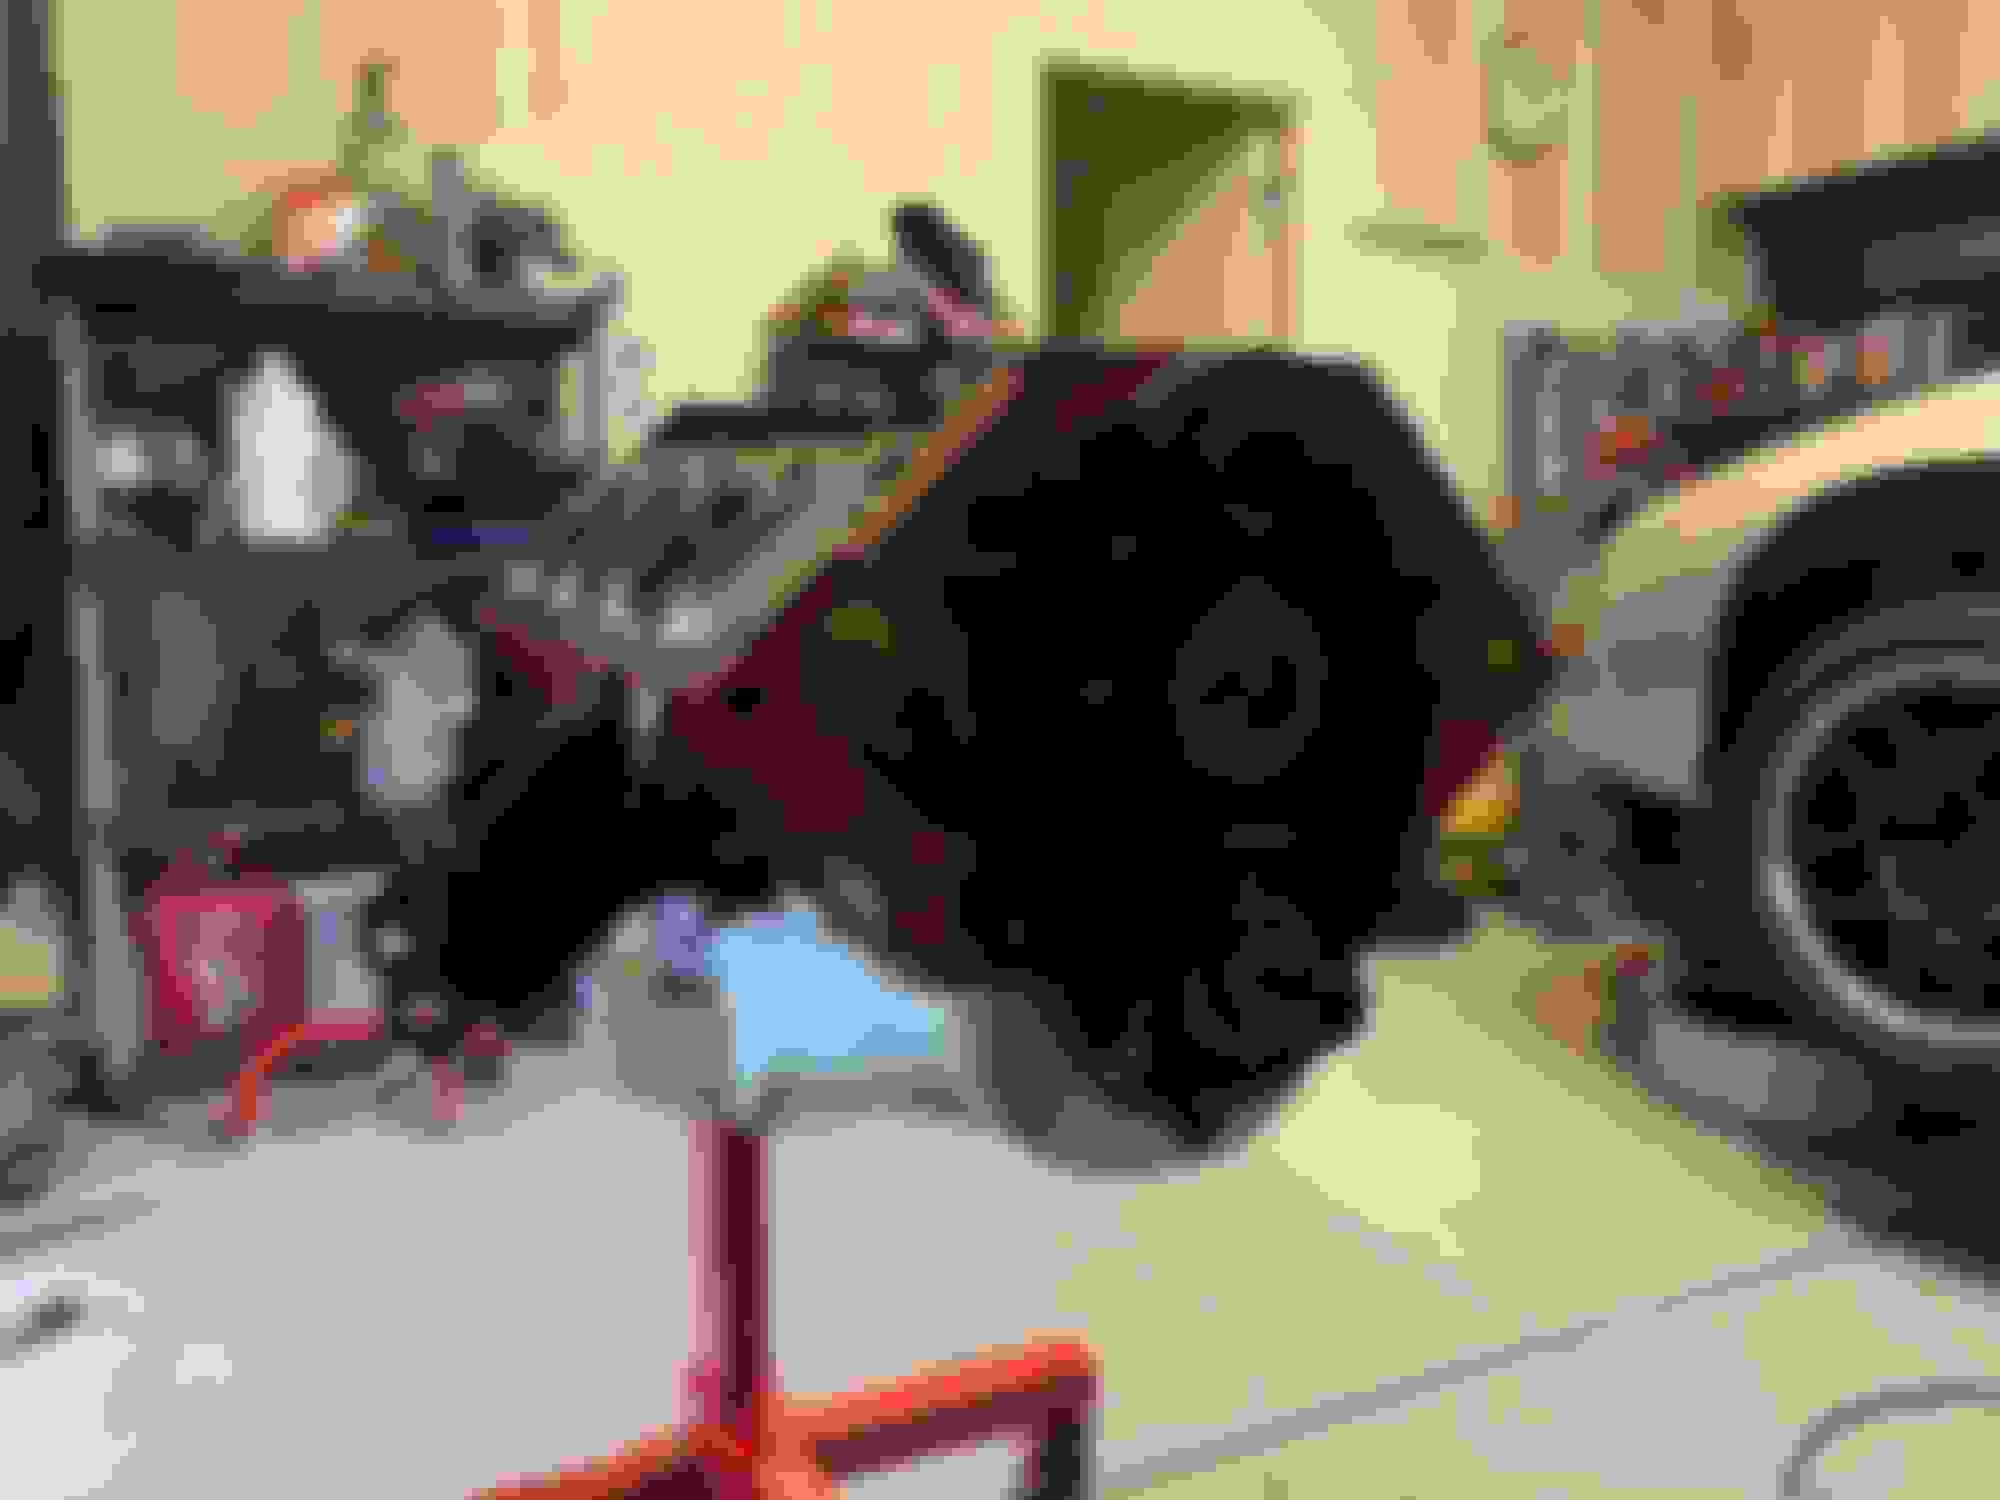
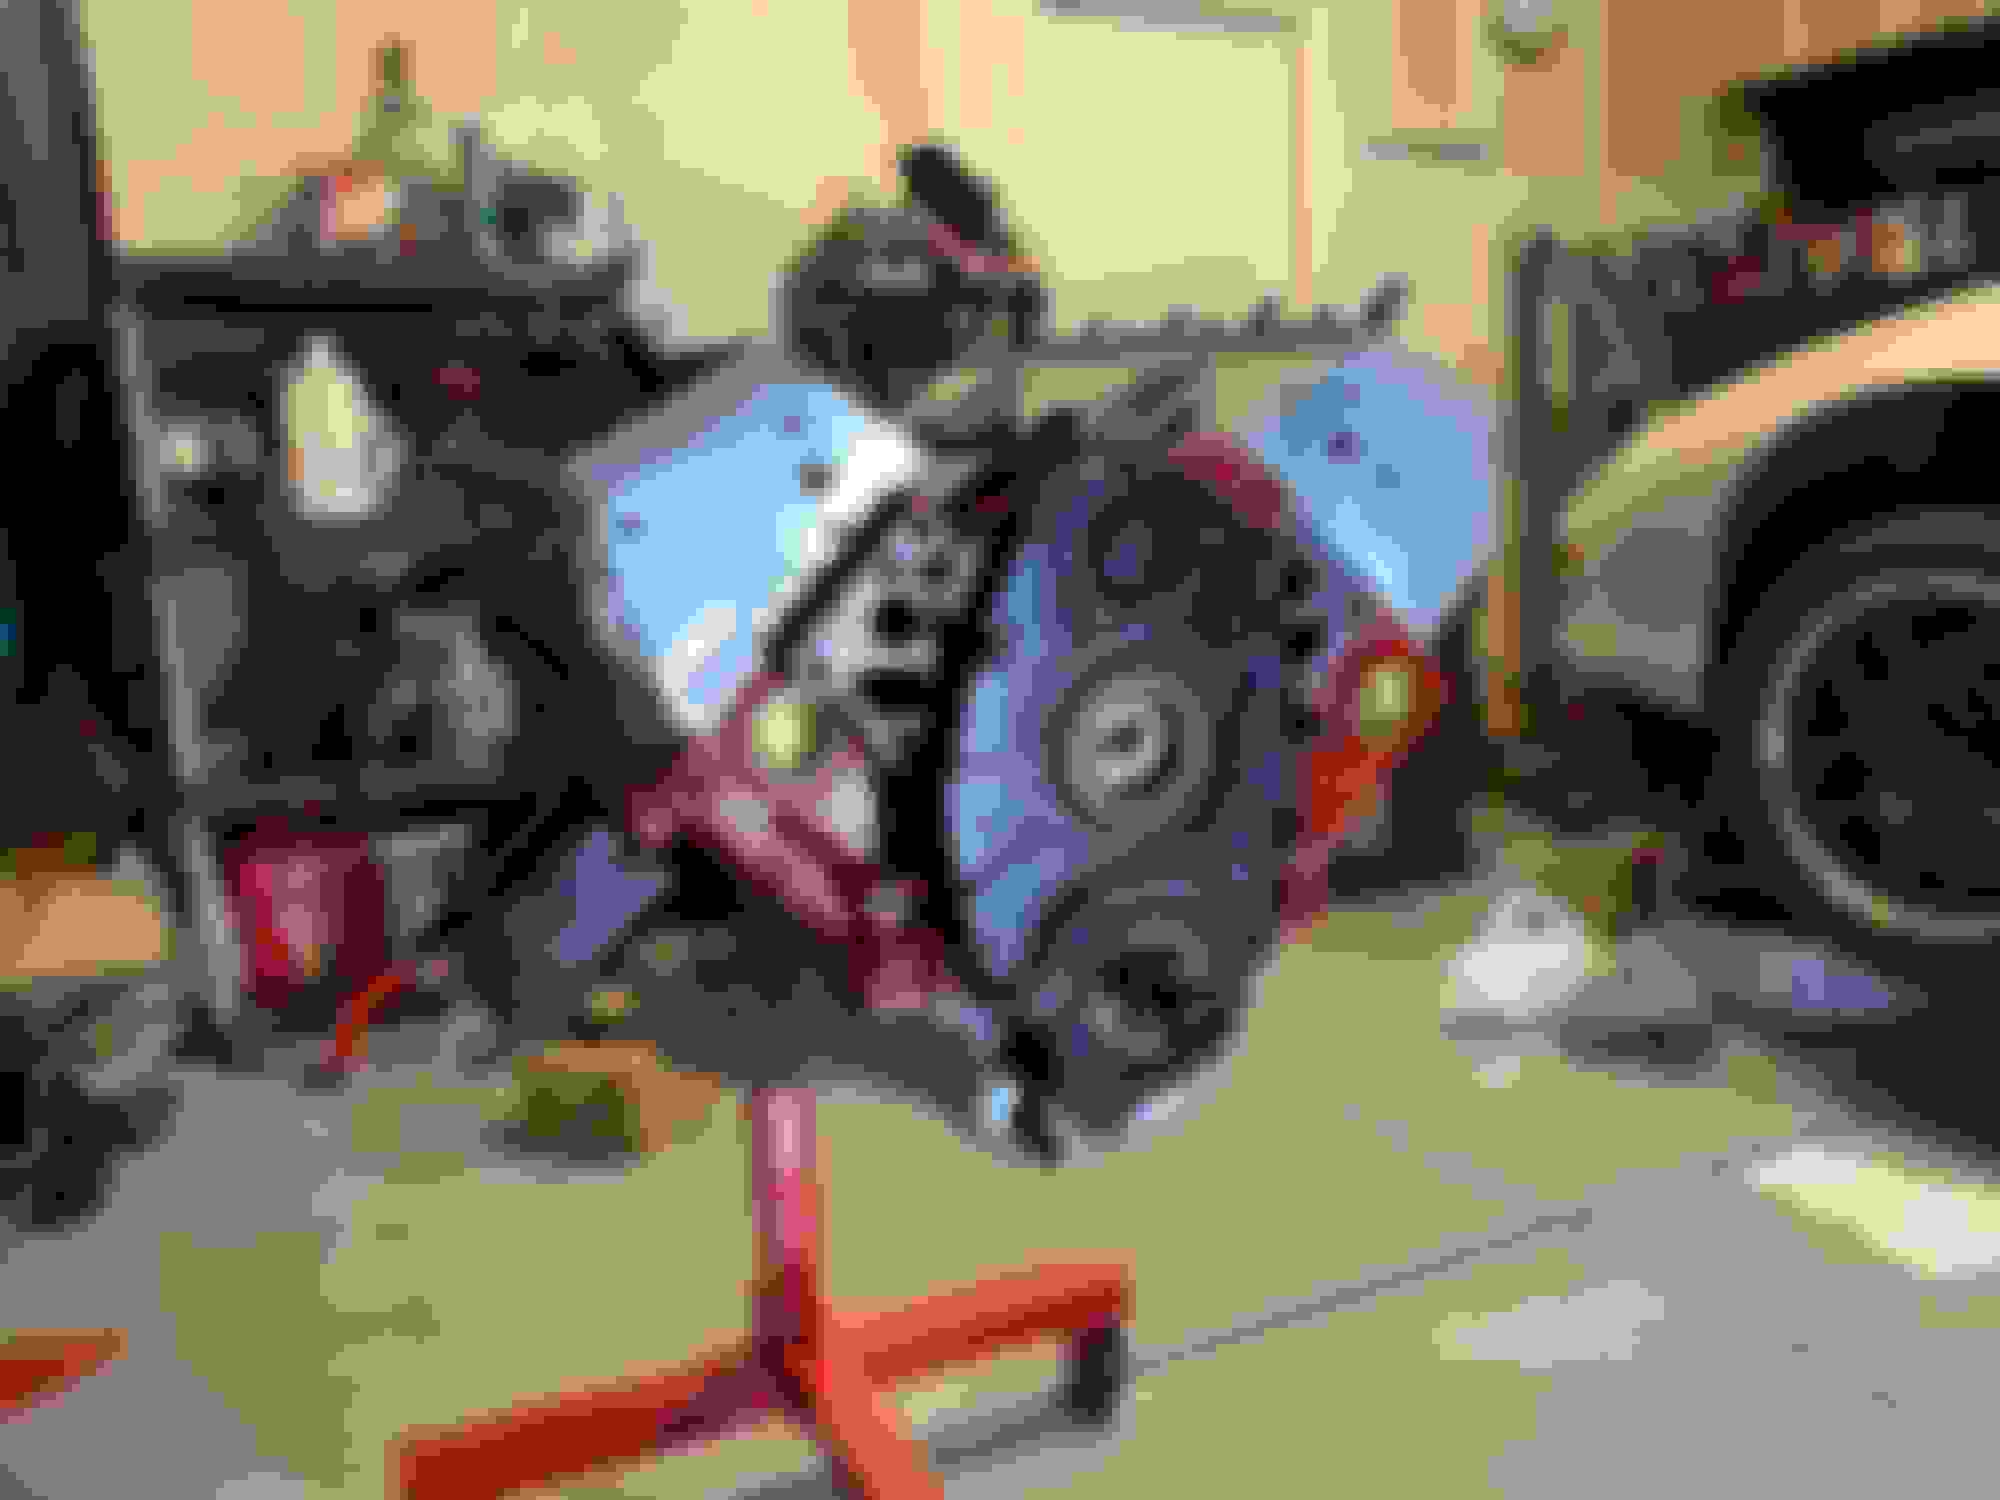
So the journey begins
Last edited by DrewHMS97SS; 03-01-2020 at 06:52 PM.
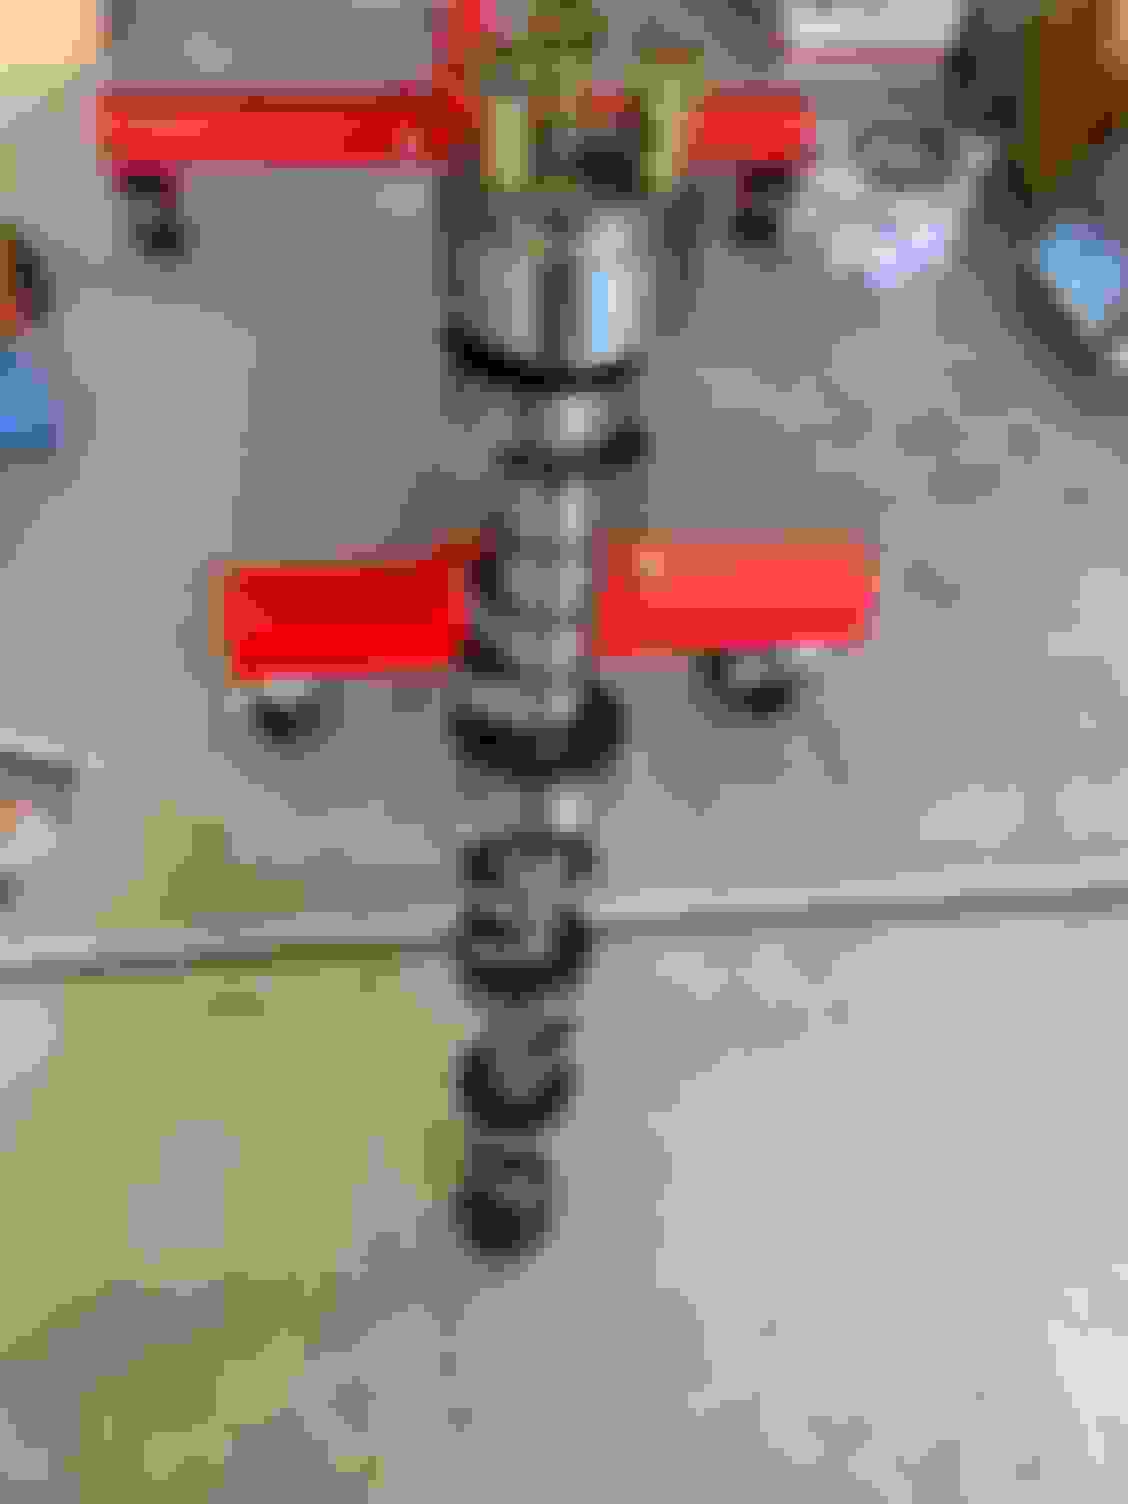
While mostly as advertised, the crank shaft was a little lower quality than advertised, a Lunati Voodoo, rather than the Callies, everything else checked out and the crank will support more HP than I plan on making.
Confirmed on the rods, and pistons talking with Golen.
I put together what I could of the new parts that I could that did not require parts off the old block. This was also where build choices diverted. Originally I wanted a street strip car, but after driving on a few road courses, decided the strip was not my passion. The cam that came with the block was an LE cam designed for boost, and part of the decision to change from N2O.
I also opted to replace the IAC housing as part of the project when I found one in good condition at the junk yard. I had to grind on mine to clear the thermostat cover after installing the nitrous plate. To clean up the look, I drilled out the water fitting and tapped/plugged the holes.
Getting everything apart is always fun. It was actually way easier than I remember. The header bolts were the biggest challenge. I am thinking as I go back in, I will remove the motor mounts and install them when the headers are in place and the engine is close to being in position.
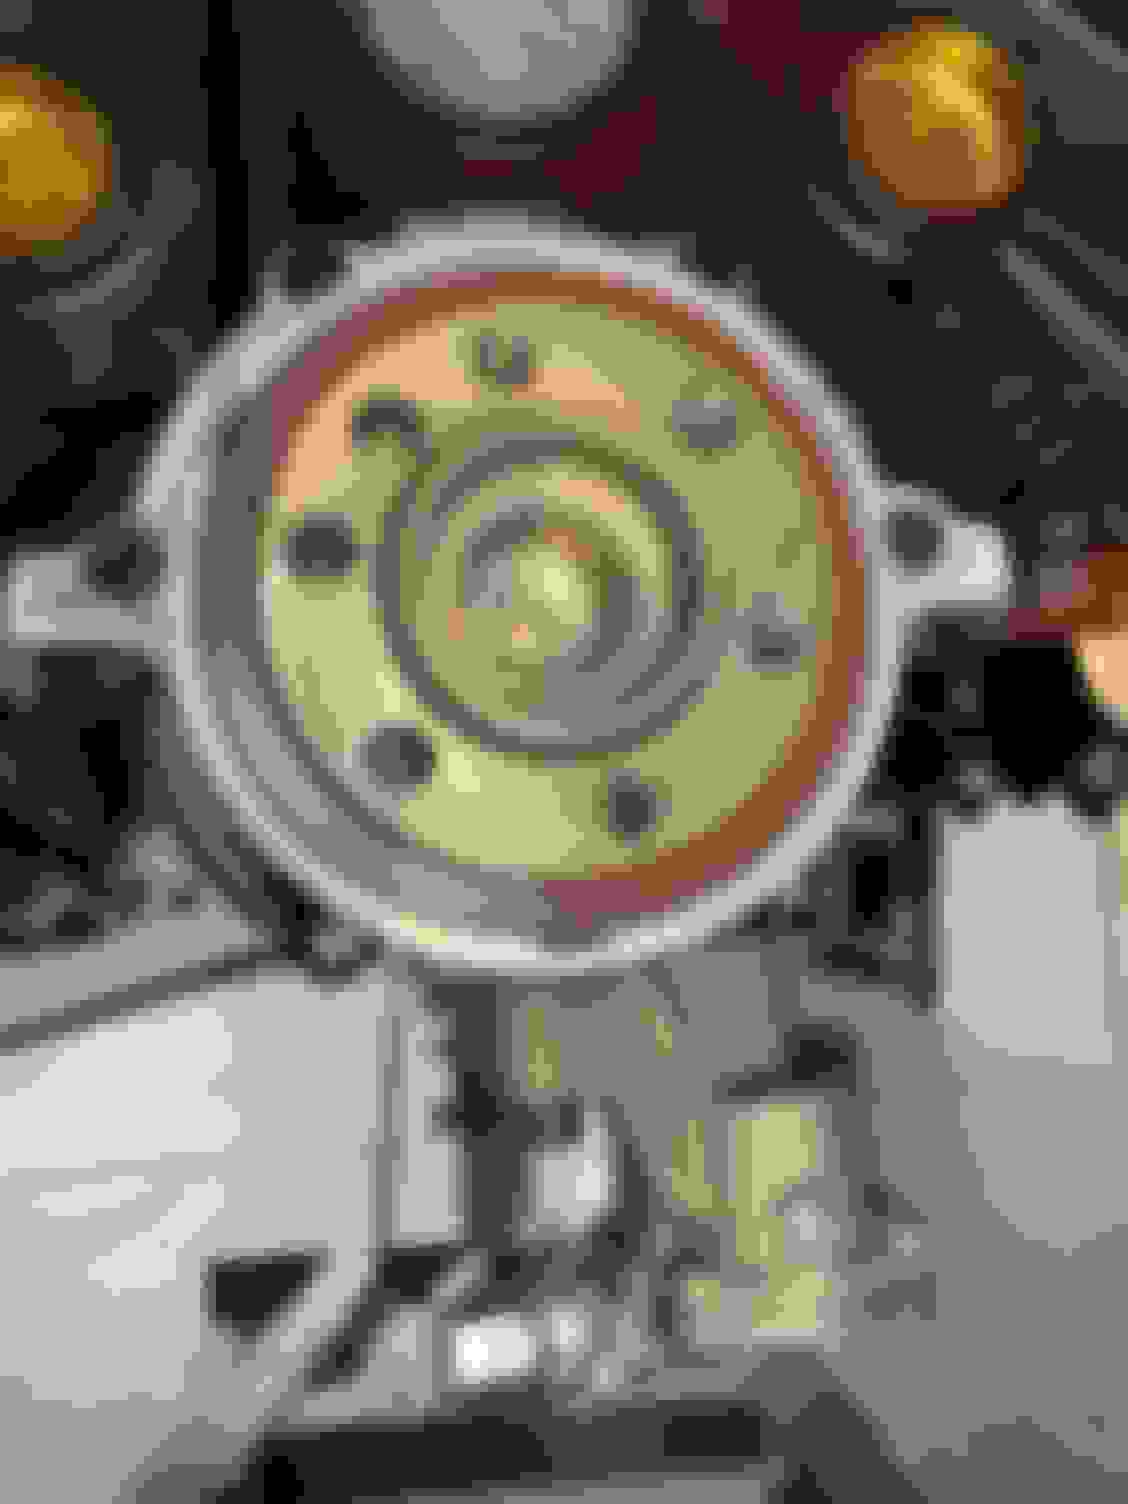
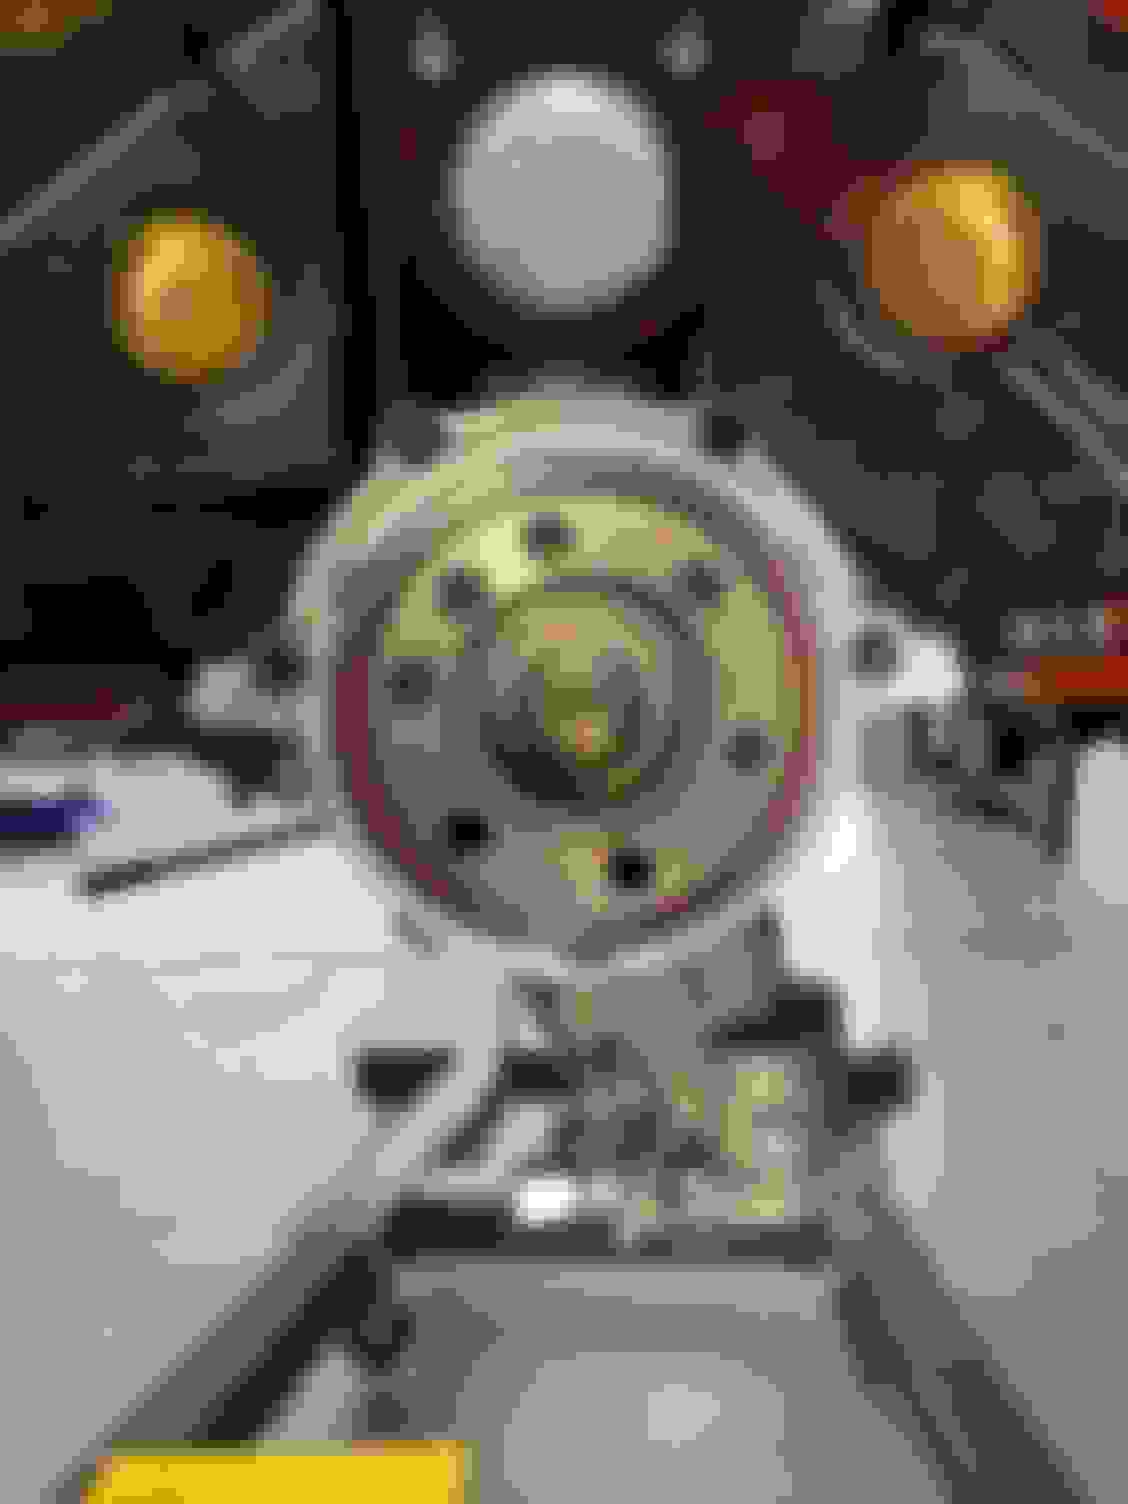
I discovered the root issue with my RMS: the housing. The bore measure round with a mic from top to bottom, and left to right, but it had the same issue on the new engine, tight top/left and loose bottom/right. I ordered a new hosing and eveything looks good. Maybe the bore in the hosing was off?
The oil pan was fun. I had to grind a fair amount of material off of the crank scrape to clear the driver side rods. I was too focused on getting it on correctly, I didn’t think about pictures until I was done.
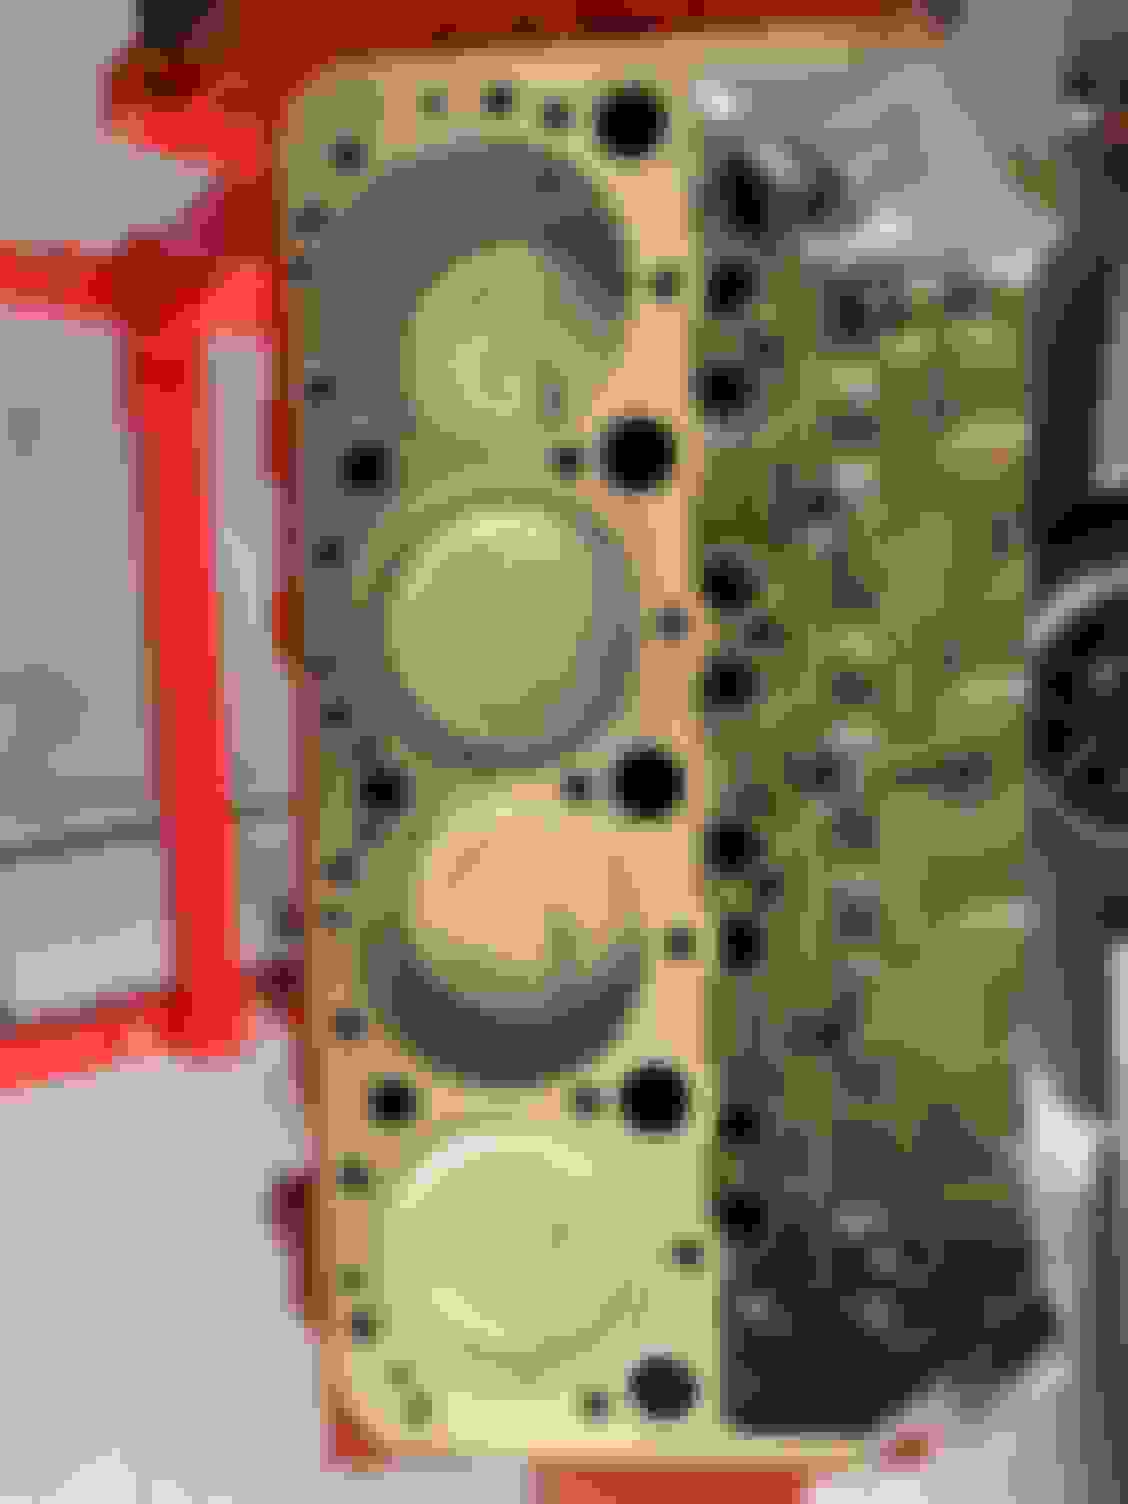
New heads from LE showed up and look great. I have been taken back by how willing LE has been to explain things in such detail. I have read about how great his work is for years, an kick myself for not working with him sooner.
I got the heads installed yesterday. This was my first time working with head studs. I spoke with Al at ARP who gave me a good run down of what to look out for. I clayed the heads first, which was an interesting process.
I had tested for pushrod length, but didn’t realize that that I either needed a solid lifter or a really weak spring to get an accurate reading. I’ll see if I can find a hookup tomorrow.
A new TorqHead setup should be in the mail next week. I still have all the N2O wiring that needs to be stripped out of the car, the bottle and accessories.
Looking good Drew....I bought a Golen 383 forged SB years ago. 40+k mi and no problems
IMHO the Lunati crank is good
Thanks! I am looking forward to firing it up. It will be lower than the other engines performance to start (low compression and a boost cam) while I save for a Procharger, but I think it will be worth it. I was bummed about the EWP harness you referenced, I contacted the guy to verify it would also work with an fbody to which he was adamant that it would not. I bought a relay and wiring settup, I am just not sure where I am going to grab switched power yet.
Your underbody looks amazing. Do you have any details on what all you did there, for prep, and what you coated it with? I'm going to be putting mine up on jack stands...and using a face shield, rags, degreaser, compressed air, and a light wire wheel to remove any surface rust before wipe down and spraying.

 03-01-2020, 06:46 PM